
How to Add Appointment Bookings to Elementor
Always make sure that your plugins are installed and successfully activated. In this case it would be Elementor, Elementor Pro, JetEngine and JetAppointments plugin.
Step 1:Connect Your Post Types
First, you must select the post type that will work with your JetAppointment plugin. Choose the Services post type that you created in the drop-down menu. If you have added serviced provides too, enable Add provides and select the appropriate post type in the Provider drop-down menu.
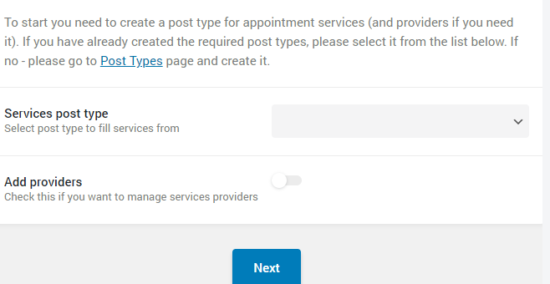
Step 2: Set up Your Database Table
After an appointment is submitted, the required columns must be created in the database, so that your bookings will be saved. This will also make it easier to manage your appointment/booking forms from the back-end and allow you to make edits.
If you require additional fields to your booking form, e.g, the name and surname of your client , you can click the New DB Column button. Create as many columns as you need.
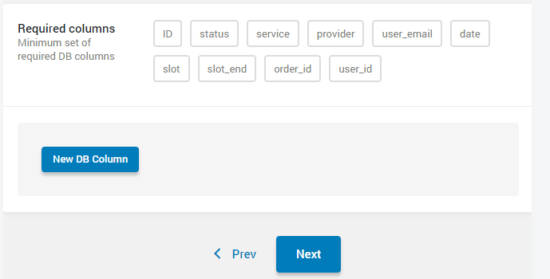
Step 3: Set up Your Working Hours.
Now, you need to stipulate your availability during the week and make sure you specify your days off too. Begin by, setting a default time slot length. You can select any time. This is just a pre-set option that will allow you to create a meta field for your service posts.
After you have set the default time length, proceed to setting your working hours for each day. You can also specify when your lunch hours are, so customers know they won’t be able to book your services then. Then click the Add button and choose a time on the drop-down list. You can also set your days off here.
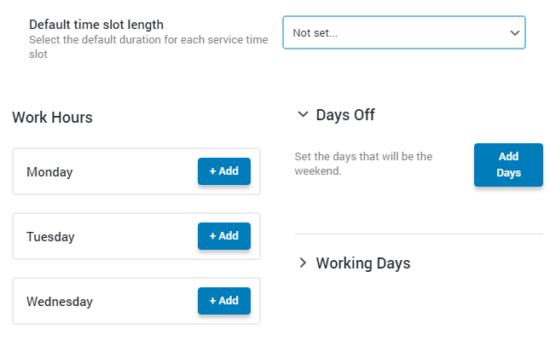
Step 4: Additional Settings
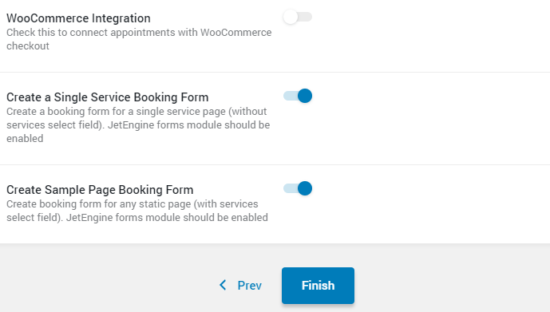
If you want your customers to pay for their bookings after they have submitted their booking time slot, you must enable WooCommerce integration. It’s as easy as enabling the options. The only difference being that one is a single service page and there is no Select Service field.
It’s as easy as that!